Skip to content
Subscribe to stay up to date on all projects!
Access my FREE Tunisian Samplerpillar Pattern PDF
Facebook
Instagram
Pinterest
TikTok
YouTube
Search
Home
Welcome
Blog
Tunisian Crochet Patterns
Knitting Patterns
Designer Interviews – Meet the Makers
Links
Contact Me
Access my FREE Crafters Library!
Search
Toggle Menu
Blog
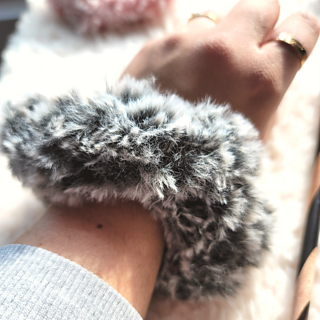
Free scrunchie crochet pattern Tunisian Furtastic Scrunchie
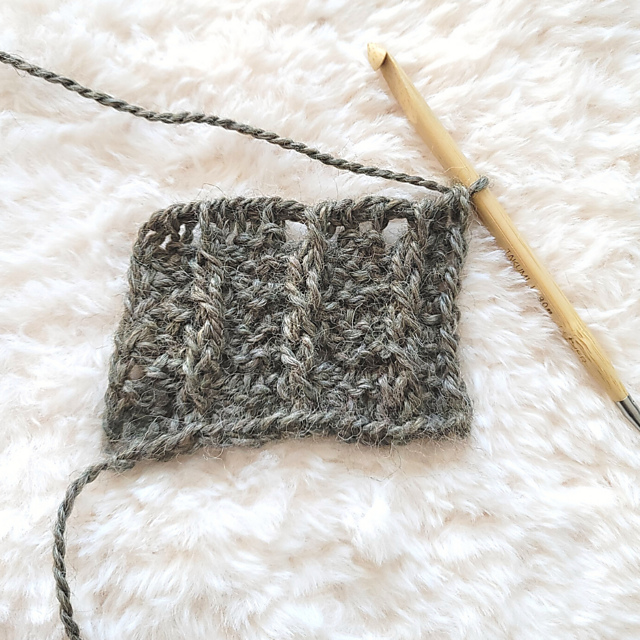
Knit like crochet ear warmer pattern free Winding Woods Ear Warmer
FREE Tunisian crochet patterns Lookin’ Swell Cowl
Farmhouse crochet pillow patterns Tunisian Nova Pillow
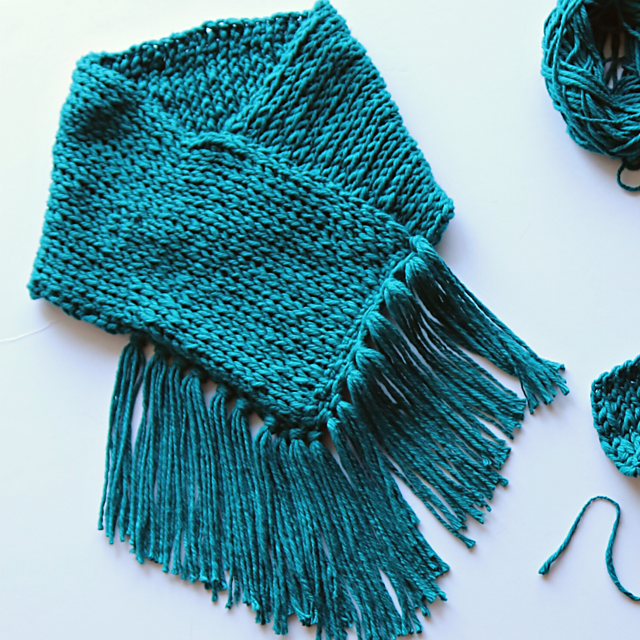
Free Tunisian crochet scarf pattern Autumn Love Scarf
Crochet Ghost Amigurumi Pattern FREE Ghosty the Ghost
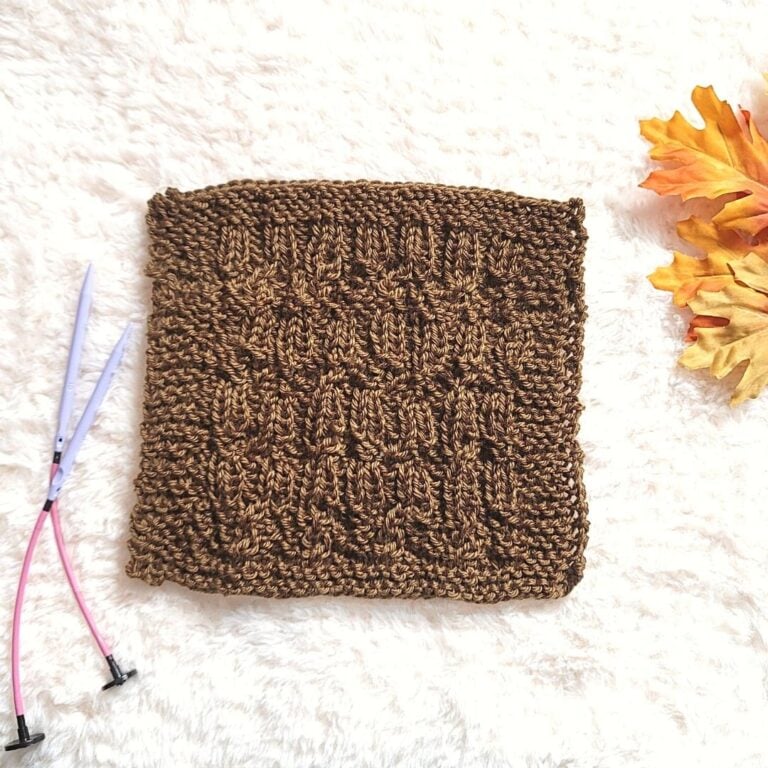
Knit Blanket Squares Pattern Spiral Ribbed Square
Page navigation
Previous Page
Previous
1
…
6
7
8
9
10
…
22
Next Page
Next
Scroll to top
Scroll to top
Home
Welcome
Blog
Tunisian Crochet Patterns
Knitting Patterns
Designer Interviews – Meet the Makers
Links
Contact Me
Check out all the Crafted Features
Toggle Menu Close
Search for:
Search