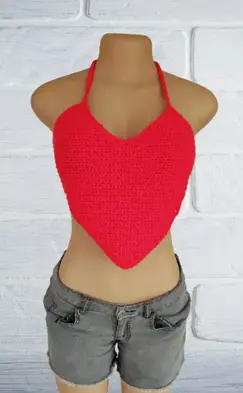
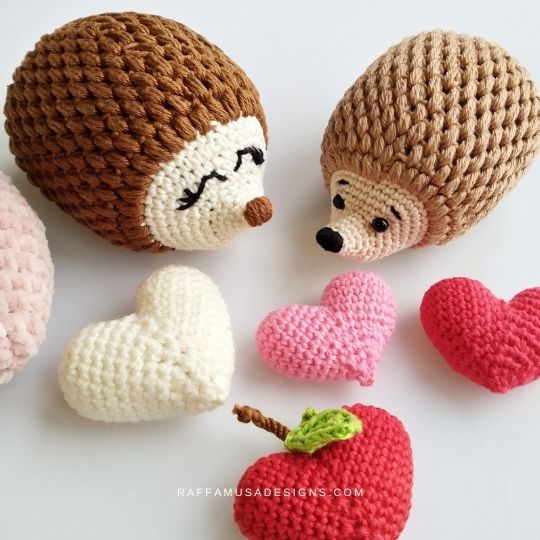
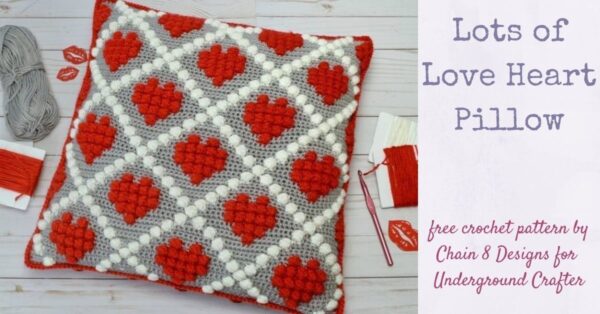
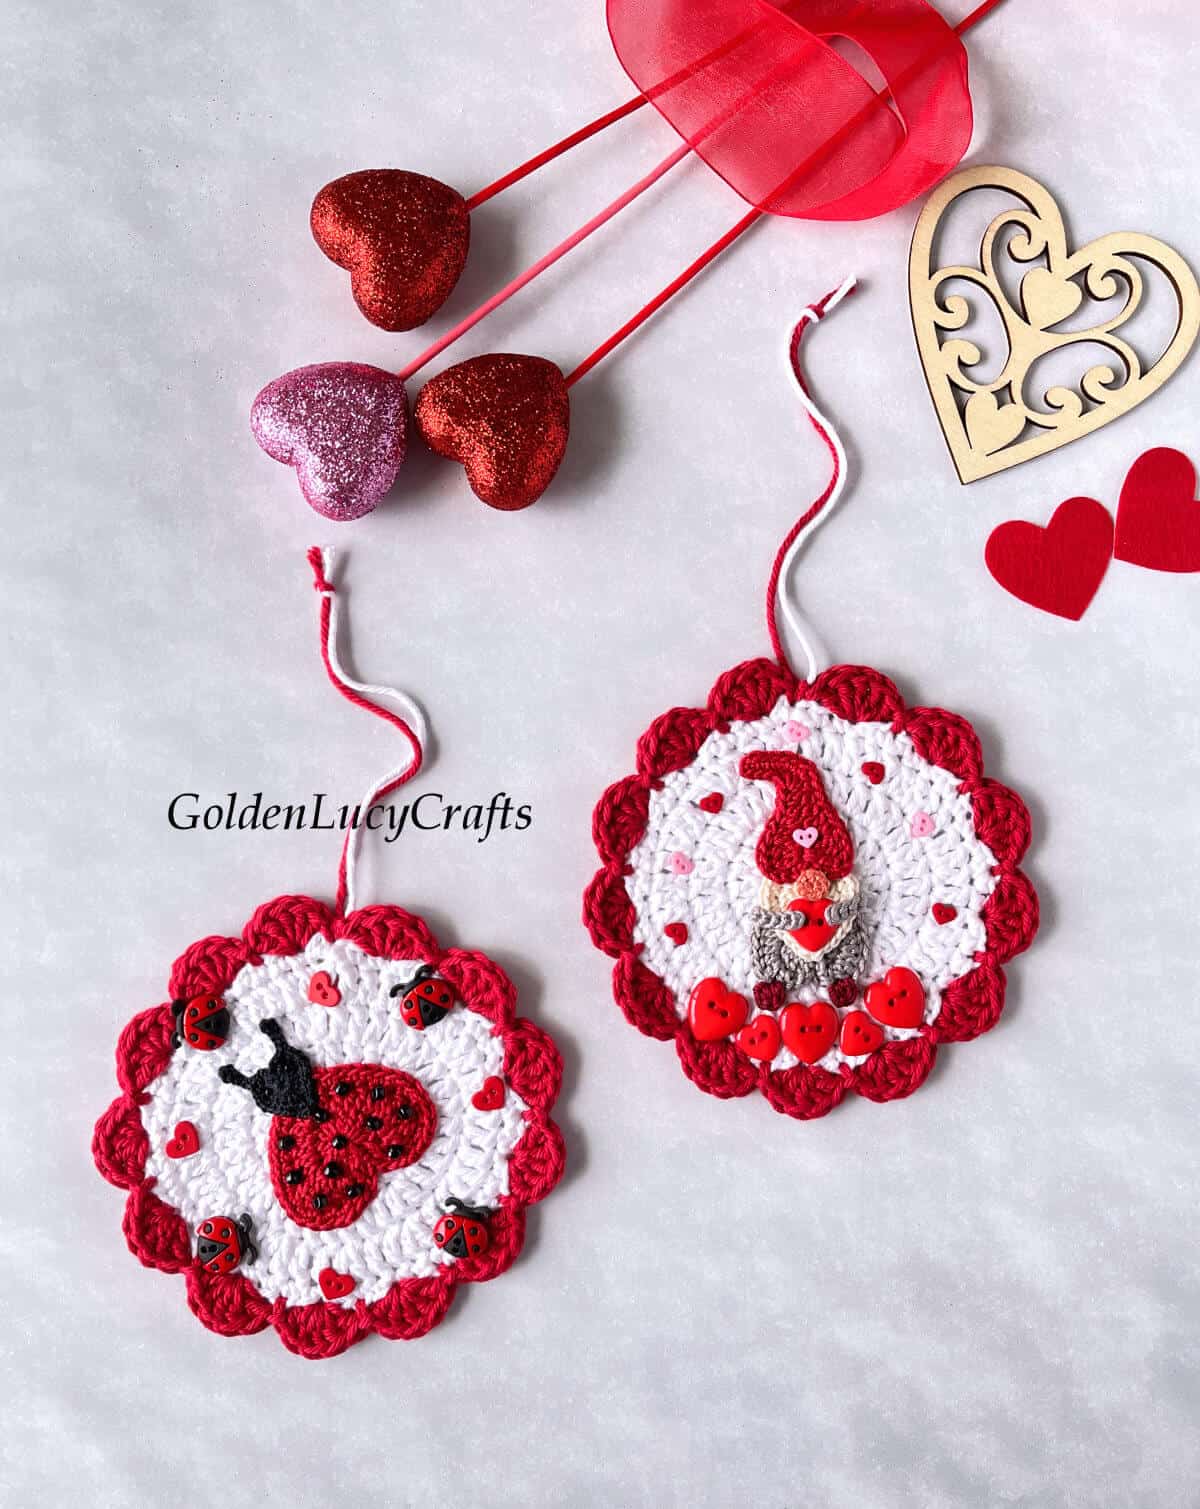
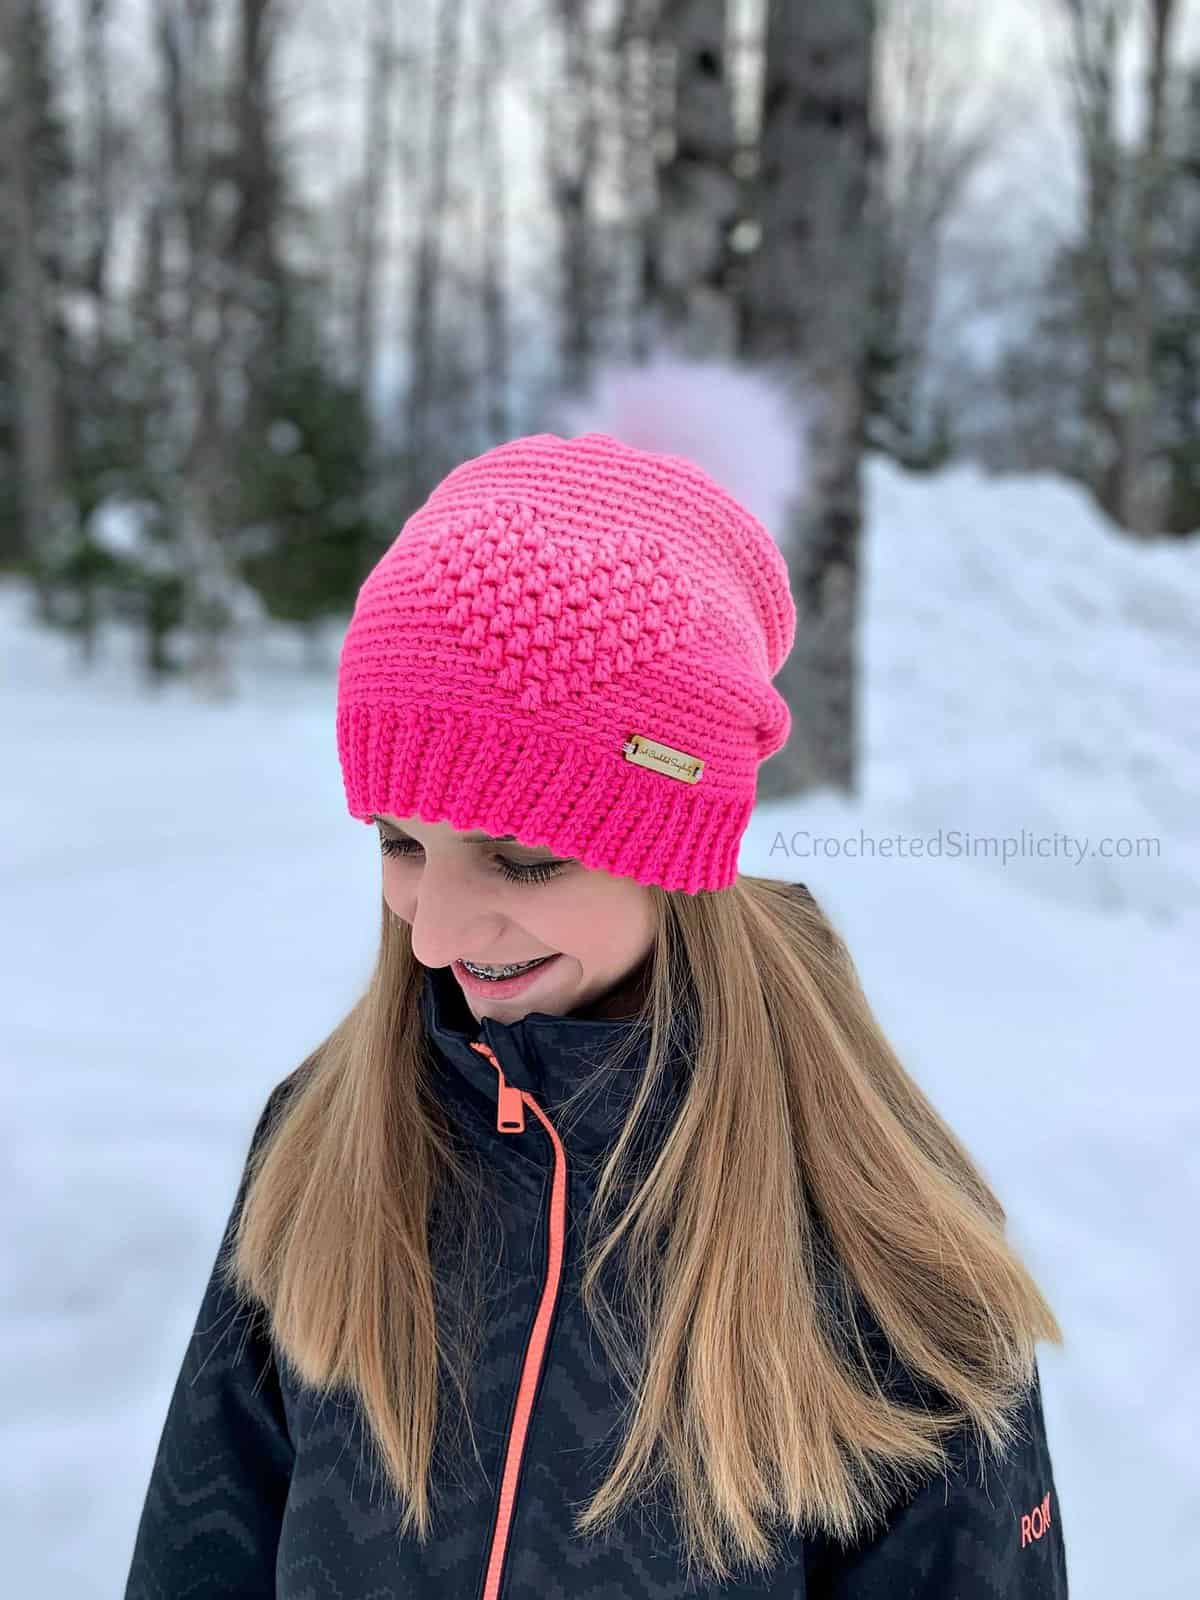
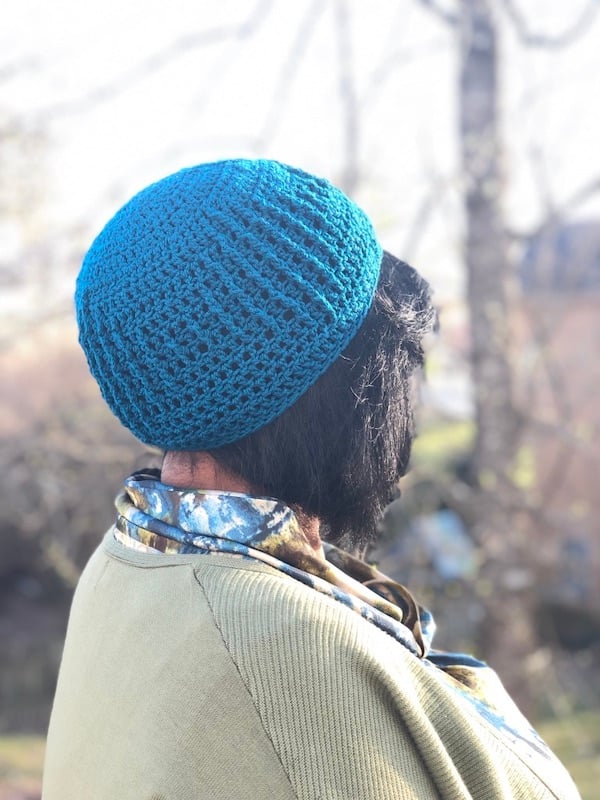
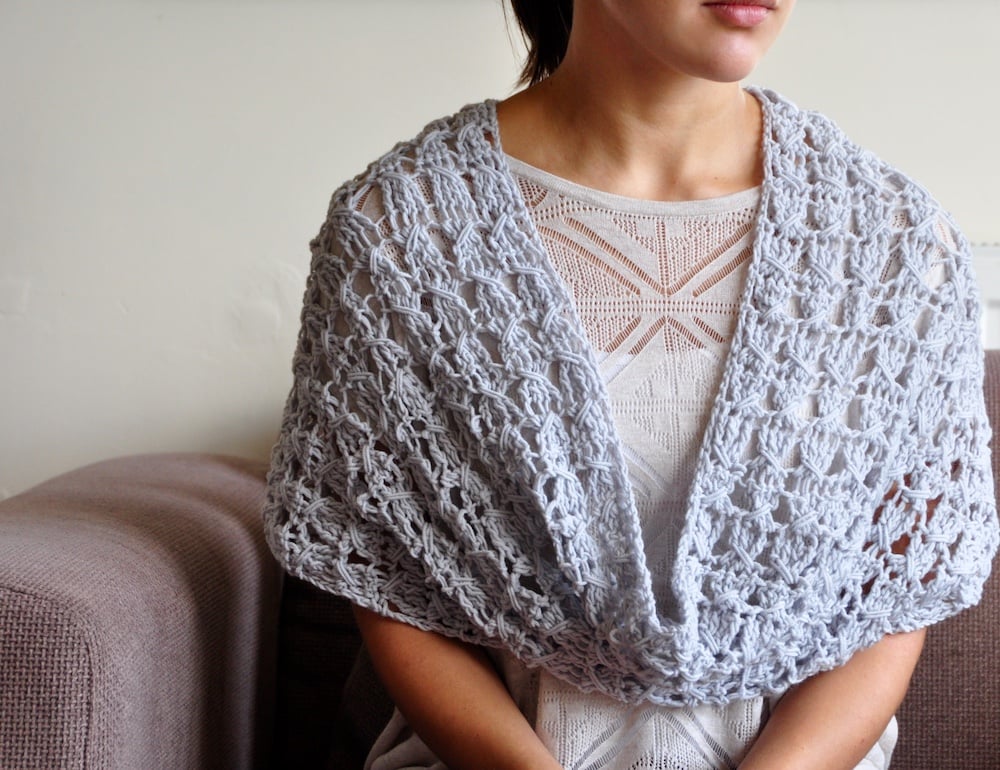
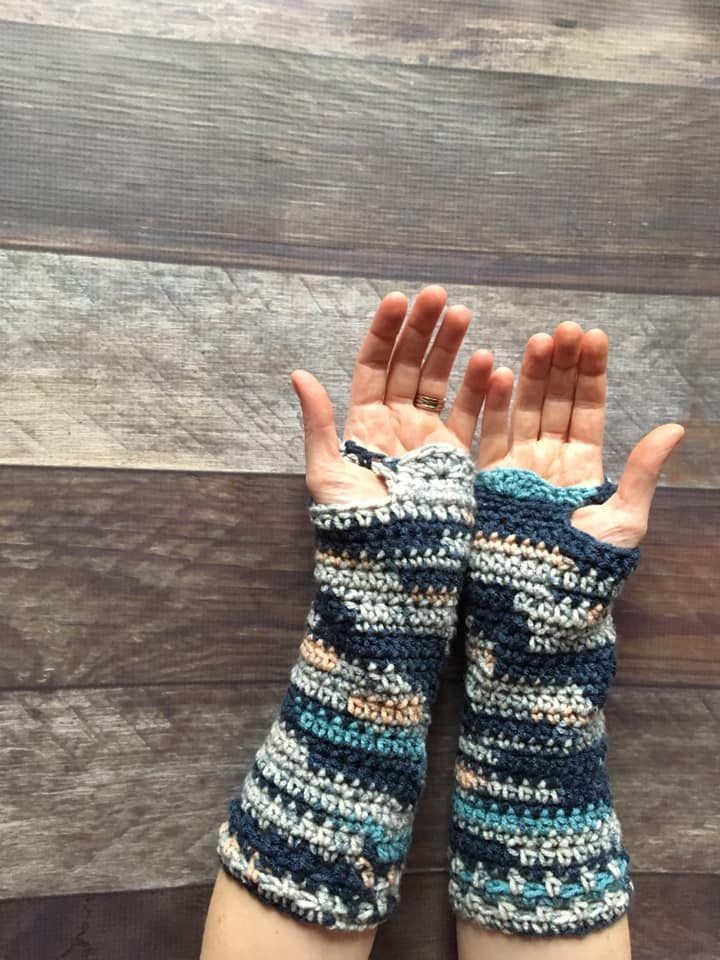
Looking for free valentines crochet patterns? You’re in the right place, check out 23 fun and free valentines crochet patterns!
Keywords: Valentines crochet patterns free, valentines day crochet patterns, free crochet patterns for valentine’s day, free crochet patterns, valentine’s day amigurumi patterns free, beginners crochet valentine crafts
This post contains affiliate links, if you purchase something through those links, I will earn a small commission at no extra cost to you.
Today, I’m sharing a round-up of some super fun crochet projects that are perfect for this time of year! There’s a fun mix of crochet amigurumi, blankets, accessories, garments, and home decor! Check out all the fun free crochet patterns below!
Have you been thinking about turning your crochet hobby into a business? Or maybe you already have a business but you’re not happy with the results. If so, you may want to check out the Crochetpreneur Business Academy, enrollment is opening up soon! Find out more here.
All of the Hobbypreneur to Crochet CEO challenge resources are available to you for lifetime access so you can use them at your convenience and return to them over and over to get a fresh boost of Crochet CEO adrenaline.
Looking for some fun and easy crochet patterns? Get started on your gifts for the holidays by grabbing these fun Christmas crochet patterns.
If you are looking for Christmas things to crochet, you are in the right place. Don’t miss out and check out these crochet holiday ideas. Some of these are great vintage Christmas crochet patterns. These holiday crochet patterns work up really quickly and make for a great gift idea and are great for market prep. Make sure you download all of these Christmas crochet patterns pdf to get started on your gift making!
These Christmas crochet patterns are the perfect set of patterns to help you get through your gift list. Here you will find crochet holiday gift ideas for all of the people on your list. These Christmas crochet projects work up really quickly so they make for the perfect items for your market prep inventory!
With the arrival of sweater weather and pumpkin season, I am sharing this cute chunky pumpkin Tunisian crochet free pattern! It works up super fast and you end up with a perfect textured crochet pumpkin to spruce up your Fall decor!
This post contains affiliate links for which I may get a small commission at not extra cost to you.
Skill Level: Beginner
Tunisian Crochet Free Pattern Materials
Yarn:
Bernat Velvet in Mushroom, 30 yards for small, 90 yards for large (Size 5 bulky weight; 10.5 oz/300 g; 315 yards/ 288 m; 100% polyester) Wool-Ease Thick and Quick,
Gauge is 11 sts over 8 rows in Tunisian simple stitch for a 4 x 4 in. square
Finished Size:
The finished size in LB Wool-Ease Thick and Quick is:
Small: 24 in. long by 4 in. wide laid flat, 24 in. circumference
Medium: 24 in. long by 5 in. wide laid flat, 24 in. circumference
Large: 24 in. long by 7 in. wide laid flat, 24 in. circumference
The finished size in Bernat Velvet is:
Small: 21 in. long by 3.5 in. wide laid flat, 21 in. circumference
Medium: 21 in. long by 5 in. wide laid flat, 21 in. circumference
Large: 21 in. long by 7 in. wide laid flat, 21 in. circumference
The pattern below is only for the small Lattice style Tunisian crochet pumpkin. To get the other sizes and a second stitch style, you can purchase the ad-free PDFs on Etsy and Ravelry.
This pattern is for a textured chunky beginner-friendly Tunisian crochet pumpkin. It’s the perfect addition to your Fall decor and will help you practice the basic Tunisian crochet stitches! The best part is that it works up super fast so it’s great for market prep and gift making!
This pattern uses a few Tunisian crochet techniques. Use the following video tutorials as needed:
Fold in half with the wrong side out and whip st the short edges together and follow assembly as shown in this video tutorial. Weave in all loose ends.
Assembly: Weave yarn in and out through the stitches at the top and pull to cinch closed. Weave yarn to the other side. Fill lightly with stuffing. Mark each Tunisian simple stitch band with a stitch marker. Cinch this side closed in the same way as the other side leaving a small hole. Wrap yarn tightly around mirroring Tunisian simple stitch bands weaving yarn through the center as you go, repeat twice. Place a cinnamon stick in the hole and cinch tight. Tie some twine to add a rustic touch. Make sure to watch this video tutorial to get a better idea of how to do this.
You are done! Have any questions? The best way to reach me is via email: [email protected]
Share your finished pumpkin with me on social media using the hashtag #chunkytunisianpumpkin for a chance to be featured! Instagram @noorsknits Facebook @noorsknits1
If you enjoyed this free Tunisian crochet pattern, check out my Tunisian Football Stuffie perfect for all your little Football lovers or the Skully Corn Bag to make this quarantine Halloween extra special this year.
If you’re looking for some fun stashbuster crochet patterns, you’re in the right place! Here are 31 amazing knit and crochet stashbuster patterns by different designers.
WHY STASHBUSTER CROCHET PATTERNS?
This roundup is a way to find some great designers & to use your yarn stash.
Stash busting crochet patterns are so fun to make. We often buy new yarn before we use what’s already in our stash.
I’m challenging you to download the fun patterns, look through your stash & make something beautiful!
SHARE USING #NOORSKNITS:
Excited about all these fun crochet patterns?
Do you have a few friends you think would enjoy these too? Please share in your favorite Facebook group, via email, on Pinterest & Instagram!
When sharing, please let them know about this post containing all the freebies, not one specific pattern so they don’t miss out on all the options!
When you start using those patterns, don’t forget to share about this event as well, linking to this post & use hashtag #noorsknits & tag @noorsknits so I can see.
Here is a fun Tunisian crochet colorwork crochet square project to get you in the mood for spring! I have the perfect crochet flower pattern for you! This Tunisian Orchid Square is a quick make to give you all the spring vibes!
This post contains Amazon Affiliate links from which I will receive a small commission at no extra cost to you.
Tunisian crochet square patterns for beginners Ravelry Download
Tunisian crochet patterns free download just for today get the PDF for this pattern on Ravelry for free! Head over to the In Bloom Spring Blanket CAL page and grab the discount code then come back here and click the button below!
You can download the ad-free inexpensive PDF with a full-color chart broken down row-by-row for free just for today or you can follow along with the written pattern below! You can also purchase this pattern along with 22 other floral square PDFs as part of a bundle for just $7 (a savings of $23)! Get the bundle here.
Gauge: Gauge is 17 st. over 14 rows in Tunisian Simple Stitch for a 4×4 in. square in Tunisian Simple Stitch for a 4×4 in. square
Finished Size: The finished square size is 8 in. wide by 9 in. in length. You can omit rows 3 to 6 to keep the length to 8 in. to match the other squares in the ongoing In Bloom Spring Blanket CAL.
Pattern Notes: This pattern is for a spring floral-theme colorwork Tunisian crochet square that you work bottom-up using size 4 worsted weight yarn in contrasting colors. The crochet flower pattern is inspired by an orchid.
The loop already on the hook at the beginning of the row counts as the first st.
Always Tunisian simple stitch in the last st of the row, being sure to work under both loops of the st.
Return Pass: Follow the foundation row and each row with the Return Pass in the same color. Return Pass Instructions: Ch 1, *yarn over, pull through two loops; repeat from * until 1 loop remains on the hook.
Abbreviations:
Ch: Chain Sl st: Slip stitch Sc: Single crochet Tss: Tunisian simple stitch RetP: Return Pass -Explained above Colors: C-Cream I – Ivy W – Wisteria F- Fairy Tale M –Mulberry G – Gold
Pattern Instructions:
Ch 34 with Col A
Ch 34 with C
Row 1 (Foundation Row): Pick up a loop in the back bump of each chain. Complete normal RetP. (34 sts)
Rows 2 to 29: Complete the following in TSS. The stitch count should be 34 at the end of each row. If you would like an 8 x 8 in. square to match the rest of the squares in the CAL, omit rows 3 to 6.
Row 2: C11, I, C22 Row 3: C11, I, C10, W, F, M, W, C8 Row 4: C11, I, C10, F, G, F, M, C8 Row 5: C11, I, C10, W, F, M, W, C8 Row 6: C11, I, C9, W, C, W2, C9 Row 7: C11, I, C6, W3, C13 Row 8: C11, I, C5, W, M, F, M, W, C12 Row 9: C11, I, C4, W, M, F, G, F, M, W, C11 Row 10: C11, I, C4, W, M, F, G, F, M, W, C11 Row 11: C11, I, C5, W, M, F, M, W, C12 Row 12: C11, I, C6, W, F, W, C13 Row 13: C11, I, C7, W, C14 Row 14: C11, I, C2, W5, C15 Row 15: C11, I, C, W2, M3, W, C15 Row 16: C11, I, C, W, M, F3, M, W, C14 Row 17: C11, I, C, W, M, F, G, F2, M, W, C13 Row 18: C11, I, C, W, M2, F, G, F, M, W, C13 Row 19: C11, I, C, W, M2, F3, M, W, C13 Row 20: C11, I, C2, W, M4, W, C14 Row 21: C11, I, C, M, C, W4, C15 Row 22: C11, W, M, F, M, W, C18 Row 23: C10, W, M, F, G, F, M, W, C17 Row 24: C9, W2, M, F, G, F, M, W, C17 Row 25: C9, W2, M2, F, M2, W, C17 Row 26: C9, W3, M3, W3, C16 Row 27: C11, W5, C18 Row 28: C12, W3, C19 Row 29: C34
Do not bind off. Leaving a 6 in. tail for all colors cut yarn EXCEPT CREAM. Weave in all ends. With the right side of the square facing you, join Ivy yarn and sc evenly around making sure to do (sc, ch1, sc) into corners. Sl st into first st. Weave in all loose ends. Optional: Steam block for a smoother finish. You can find a full steam blocking tutorial here.
You are done! Have any questions? The best way to reach me is via email: [email protected]
Share your finished crochet square with me on social media using the hashtag #tunisianorchidsquare for a chance to be featured! And don’t forget to use the hashtag #inbloomcal and #springbloomsblanketcal and make sure to tag @bearrye to be entered to win the giveaway at the end of the CAL. You can find more information here. Instagram @noorsknits Facebook @noorsknits1
If you’re looking for a super cozy Tunisian crochet pattern perfect for some winter crochet, you are in the right place! I have the perfect crochet square pattern for you that gives you all the cozy vibes! This Cozy Cocoa Square is a quick make to accompany that cup of cocoa on a chilly day!
This post contains Amazon Affiliate links from which I will receive a small commission at no extra cost to you.
Tunisian crochet patterns for beginners Ravelry Download
Tunisian crochet patterns free download just for today get the PDF for this pattern on Ravelry for free! Head over to the Winter Wonder Squares CAL page and grab the discount code then come back here and click the button below!
You can download the ad-free inexpensive PDF with a full-color chart for free just for today or you can follow along with the written pattern below!
Gauge: Gauge is 5 st. over 4 rows in Tunisian Simple Stitch for a 1×1 in. square
Finished Size: The finished square size laid flat is 8 x 8 in.
Pattern Notes: This pattern is for a winter-themed colorwork Tunisian crochet square that is worked bottom-up using size 4 worsted weight yarn in contrasting colors. The bobble stitches add texture and are inspired by marshmallows in a cup of hot cocoa.
The loop already on the hook at the beginning of the row counts as the first st.
Always TSS in the last st of the row, being sure to work under both loops of the st.
Return Pass: Follow the foundation row and each row with the Return Pass in the same color. Return Pass Instructions: Ch 1, *yarn over, pull through two loops; repeat from * until 1 loop remains on the hook.
Abbreviations:
Ch: Chain Tss: Tunisian simple stitch Tbo: Tunisian bobble stitch Sc: Single crochet RetP: Return Pass Col A: Color A – Caron Simply Soft Tweeds in Off White Col B: Color B – Caron Simply Soft in Chocolate
Note: When making a bobble, hold both colors together.
Pattern Instructions:
Ch 25 with Col A
Row 1 (Foundation Row): Pick up a loop in the back bump of each chain. Complete normal RetP Rows 2 and 3: (Col A) x 25 Row 4: (Col A) x 13, (Col B) x 3, (Col A) x 9 Row 5: (Col A) x 12, (Col B) x 5, (Col A) x 8 Row 6: (Col A) x 11, (Col B) x 7, (Col A) x 7 Row 7: (Col A) x 8, (Col B) x 11, (Col A) x 6 Row 8: (Col A) x 7, Col B, (Col A) x 2, (Col B) x 9, (Col A) x 6 Row 9: (Col A) x 8, (Col B) x 4, Bo, Col B, Bo, Col B, Bo, (Col B) x 2, (Col A) x 6 Row 10: (Col A) x 12, Col B, (Col A) x 3, Col B, (Col A) x 8 Row 11: (Col A) x 11, Col B, (Col A) x 3, Col B, (Col A) x 9 Row 12: (Col A) x 11, Col B, (Col A) x 3, Col B, (Col A) x 9 Row 13: (Col A) x 12, Col B, (Col A) x 3, Col B, (Col A) x 8 Row 14: (Col A) x 13, Col B, (Col A) x 3, Col B, (Col A) x 7 Row 15: (Col A) x 13, Col B, (Col A) x 3, Col B, (Col A) x 7 Row 16: (Col A) x 12, Col B, (Col A) x 3, Col B, (Col A) x 8 (Leave a 6 in. tail and cut Col B yarn) Rows 17 to 19: (Col A) x 25
Join Col B and Sc around the square with Col B – (sc, ch1, sc) into the corners, do not cut yarn. Repeat this border with Col A once and with Col B once. Bind off and leave a 6 in. tail and cut yarn. Weave in all ends. Steam block for a smoother finish. You can find a full steam blocking tutorial here.
You are done! Have any questions? The best way to reach me is via email: [email protected]
Share your finished square with me on social media using the hashtag #cozycocoasquare for a chance to be featured! And don’t forget to use the hashtag #winterwondersquares and make sure to tag @bearrye to be entered to win the giveaway at the end of the CAL. You can find more information here. Instagram @noorsknits Facebook @noorsknits1
Are you looking for free Halloween patterns? You’re headed in the right direction, here you’ll find many fun Halloween patterns for free including Halloween amigurumi patterns! One of these free Halloween patterns is my Skully Corn Bag – a Tunisian crochet colorwork pattern for a fun trick or treat bag for little ones! When I initially designed this bag, I just had candy corn with a face in mind. It turned into so much more! He is mister skully corn and has a goofy personality! I’ve also added some fringe at the top to give the effect of spider webs. I hadn’t intended for his head to be in the shape of a skull but I love that it turned out that way so I went with it! I hope you love making him as much as I did!
Free Halloween Patterns – Head to the Knotty Gurl Crochet Blog HERE to start making the Skully Corn Bag
Color A – Lily Sugar’N Cream in Overcast – 110 yards
Color B – Lily Sugar’N Cream in Hot Orange – 5 yards
Color C – Lily Sugar’N Cream in White – 15 yards
Color D – Lily Sugar’N Cream in Sunshine – 5 yards
Hooks:
US H8 5.0 mm Tunisian crochet hook with a 14 in. cord
Notions:
Yarn needle
Scissors
Measuring tape
Gauge: The gauge is 4 st. by 3 rows for a 1 x 1 in. square in Tunisian Simple Stitch using H8 5.0 mm hook.
Finished Size: The finished size of the bag is 8 x 7 in.
Free Halloween Patterns – Skully Corn Bag
Pattern Notes:
This pattern is for a Tunisian crochet Halloween trick or treat bag for little ones. The way the pattern is written, the bag will be worked as a rectangle and seamed and a handle will be added at the top by working handle for the desired length.
Share your finished bag with me on social media using the hashtag #skullycornbag for a chance to be featured! Instagram @noorsknits Facebook @noorsknits1
If you liked this pattern you can try my Tunisian crochet pumpkin pattern here. You can also check out more fun Halloween patterns for free over on the Knotty Gurl Crochet Blog including fun amigurumi Halloween patterns.
Are you looking for a fun free crochet hat pattern? I created this super cool design for hat not hate! There are still a couple of weeks left to send in your blue hats to support the anti-bullying campaign by Lion Brand! You can head to the Ravelry download link by clicking the button above!
This post contains affiliate links for which I may get a small commission at no extra cost to you.
I experienced bullying in various forms while I was growing up. Sometimes it was hurtful words and other times I remember being hurt physically. I used to be shamed for the way I looked and for being the only South Asian kid in the class. That’s why this initiative means a lot to me. This initiative is relevant to the backlash POC makers are currently experiencing for speaking out against injustice.
This design comes from a place of unity. It’s important to “put yourself in another person’s shoes” so you can see the world from their perspective. Similarly, we have to “try each other’s hats on” to truly understand one another. This is the only way we can show each other compassion and move forward.
Disclaimer: This pattern has not been tested so please let me know if you find any errors! I’ll fix them right away!
The way the pattern is written, the colorwork will be on the front of the hat and there is no shaping involved. It is a tubular/cat-ear type hat as modeled by me! Bub’s hat is the first prototype. That’s why the heart is made with both contrasting colors which were difficult to crochet. As a result, I decided to use one color to make the heart!
Notes:
This pattern uses a few Tunisian crochet techniques. Use the following video tutorials as needed:
Gauge is 18 st. by 14 rows in Tunisian Simple Stitch
Abbreviations:
TSS– Tunisian Simple Stitch – Video Tutorial here TPS– Tunisian Purl Stitch – Video Tutorial here How to do Tunisian Crochet colorwork – Video Tutorial here
Free Crochet Hat Pattern for Child Size (fits head circumference of 20 in.)
Using 5.5 mm Tunisian crochet hook with 24 in. cord, chain 90 and complete a foundation row (video tutorial here).
Note: Complete a standard return pass for each row. Stitch count should be 90 before each return pass is worked.
Rows 1 to 6: TPS, TSS with Col A (This is the ribbing) Row 7: TSS across with Col A Row 8: TSS 17 with Col A, TSS 2 with Col B, TSS 5 with Col A, TSS 1 with Col C, TSS 5 with Col A, TSS 2 with Col C, TSS 57 with Col A Row 9: TSS 16 with Col A, TSS 4 with Col B, TSS 3 with Col A, TSS 3 with Col C, TSS 3 with Col A, TSS 4 with Col C, TSS 56 with Col A Row 10: TSS 16 with Col A, TSS 4 with Col B, TSS 2 with Col A, TSS 5 with Col C, TSS 2 with Col A, TSS 4 with Col C, TSS 56 with Col A Row 11: TSS 16 with Col A, TSS 4 with Col B, TSS 1 with Col A, TSS 7 with Col C, TSS 1 with Col A, TSS 4 with Col C, TSS 56 with Col A Row 12: TSS 14 with Col A, TSS 6 with Col C, TSS 1 with Col A, TSS 7 with Col C, TSS 1 with Col A, TSS 6 with Col B, TSS 54 with Col A Row 13: TSS 16 with Col A, TSS 4 with Col C, TSS 1 with Col A, TSS 7 with Col C, TSS 1 with Col A, TSS 4 with Col B, TSS 56 with Col A Row 14: TSS 16 with Col A, TSS 4 with Col C, TSS 2 with Col A, TSS 2 with Col C, TSS 1 with Col A, TSS 2 with Col C, TSS 2 with Col A, TSS 4 with Col B, TSS 56 with Col A Row 15: TSS 16 with Col A, TSS 4 with Col C, TSS 9 with Col A, TSS 4 with Col B, TSS 56 with Col A Rows 16 to 25: TSS across with Col A Row 26: Bind off
Weave in loose ends and fold your finished piece in half with the wrong side facing you. Whipstitch along the side or use your preferred method to seam up the hat! Don’t forget to share it with me if you make it by using #onelovehat and tagging me @noorsknits on Instagram.
Free Crochet Hat Pattern for Teen/Adult Size (fits head circumference of 22 in.)
Using 5.5 mm Tunisian crochet hook with 24 in. to 32 in. cord, chain 99
Note:Complete a standard return pass for each row.Stitch count should be 99 before each return pass is worked.
Rows 1 to 6: TPS, TSS with Col A Row 7: TSS across with Col A Row 8: TSS 17 with Col A, TSS 2 with Col B, TSS 5 with Col A, TSS 1 with Col C, TSS 5 with Col A, TSS 2 with Col C, TSS 66 with Col A Row 9: TSS 16 with Col A, TSS 4 with Col B, TSS 3 with Col A, TSS 3 with Col C, TSS 3 with Col A, TSS 4 with Col C, TSS 65 with Col A Row 10: TSS 16 with Col A, TSS 4 with Col B, TSS 2 with Col A, TSS 5 with Col C, TSS 2 with Col A, TSS 4 with Col C, TSS 65 with Col A Row 11: TSS 16 with Col A, TSS 4 with Col B, TSS 1 with Col A, TSS 7 with Col C, TSS 1 with Col A, TSS 4 with Col C, TSS 65 with Col A Row 12: TSS 14 with Col A, TSS 6 with Col C, TSS 1 with Col A, TSS 7 with Col C, TSS 1 with Col A, TSS 6 with Col B, TSS 63 with Col A Row 13: TSS 16 with Col A, TSS 4 with Col C, TSS 1 with Col A, TSS 7 with Col C, TSS 1 with Col A, TSS 4 with Col B, TSS 65 with Col A Row 14: TSS 16 with Col A, TSS 4 with Col C, TSS 2 with Col A, TSS 2 with Col C, TSS 1 with Col A, TSS 2 with Col C, TSS 2 with Col A, TSS 4 with Col B, TSS 63 with Col A Row 15: TSS 16 with Col A, TSS 4 with Col C, TSS 9 with Col A, TSS 4 with Col B, TSS 65 with Col A Rows 16 to 32: TSS across with Col A Row 33: Bind off
Weave in loose ends and fold in half with the wrong side facing you and seam up the side with a whipstitch or using your preferred method of seaming. Don’t forget to share it with me if you make it by using #onelovehat and tagging me @noorsknits on Instagram.
Find Out More About Hat Not Hate
You can read more about my experience with bullying and the Hat Not Hate campaign here. I have included ways to be proactive in preventing and dealing with the consequences of bullying. You can find more information about how to participate in the Hat Not Hate Campaign here.
If you are looking for another fun Tunisian crochet colorwork project, the Creamsicle Crochet Baby Blanket is a fun and versatile pattern.
I came up with this super easy free crochet bow pattern recently as I was thinking of ways to use up my scrap yarn. It can be intimidating to try a new craft so I want to make it easy for you. I would like you to try this super simple pattern to get used to and fall in love with Tunisian crochet! Similarly, I have a normal crochet version of the bow below if you prefer the simple crochet stitches! This bow can be attached to anything. For example, you can attach it to a hair-tie, headband, or a bow-tie. I decided to turn it into an adjustable bow-tie for Bubs! The double crochet belt makes it easy to adjust to any size!
This post may contain affiliate links for which I receive a small commission at no extra cost to you.
This adjustable bow-tie pattern is a great beginner project and can easily be made with a straight 4 mm crochet hook. Make it in a solid color or as a striped version! I’ve decided to include this pattern as a Free PDF just for 24 hours as part of the Easy Tunisian Crochet Blog Hop. Head over to the Easy TC Main Blog Post to grab the code, come back and click below to get your free PDF just for today!
TSS – Tunisian Simple Stitch HDC – Half Double Crochet Sl St – Slip Stitch St(s) – Stitch(es) Sc – Single Crochet Ch – Chain
Tunisian Crochet Bow Pattern:
Using a 4 mm Tunisian crochet hook, with white yarn chain 20 – make foundation row.
Row 2: TSS across with red. Normal return pass.
Row 3: Pick up white yarn and TSS across. Normal return pass.
Repeat rows 2 and 3 till you have completed 11 rows.
Bind off with white yarn.
Using metallic crochet thread with the right side of the finished piece facing you, sl. st into the first st along the long edge (20 st.), and sc around. Each time you get to a corner, ch 1, and continue sc around along short edge (12 st.). When you’ve reached the start, join with the first st by doing a sl st. Similarly, repeat one more round of sc.
Weave in all loose ends.
Bow Tie – Adjustable Band
With navy blue, Chain 55
Row 1: Ch 2 and DC into each st for the next 54 sts.
Leaving a 6 in. tail, cut yarn.
Assemble the Bow-Tie
Take a 38 in. piece of blue yarn and cinch center of bow and sew in place.
With the adjustable band placed behind the cinched bow (right side facing you), Wrap the 38 in. piece of yarn around the bow and belt multiple times. After that, when there are about five inches of yarn remaining, stop wrapping and weave in the remaining yarn tail into the back of the bow.
Sew one 3/4 in. button onto the end of the adjustable belt (the end with yarn tails/starting point). Sew the second 3/4 in. button 2 inches from the first button.
Adjust the bow-tie to fit a range of baby to adult sizes by placing the buttons through the spaces between the double crochets.
Using 4.5 mm crochet hook, chain 20. Follow rows 1 to 4 as outlined below:
Firstly, Ch 1, HDC across with white and turn work.
Secondly, join red yarn and sl st., ch 1, HDC over and around the white yarn while carrying the white yarn in the back and HDC across till the end of the row, turn work.
Thirdly, with white yarn, work HDC over and around the red yarn while carrying the red yarn in the back and HDC across till the end of the row, turn work.
Finally, continue steps 2 and 3 while alternating colors and holding the non-working yarn in the back. Complete a total of seven rows.
With the right side facing you, sc around with metallic crochet thread as mentioned above. Make an adjustable band and cinch and sew bow and strap together as mentioned above.